как залить аккумулятор водой
Введение:
In this article, we will discuss the process of filling a battery with water. It is important to note that not all batteries can be filled with water, and this process is specifically for batteries that are designed to be topped up with water. Follow these steps to ensure safe and proper battery maintenance.
Step 1: Determine Battery Type
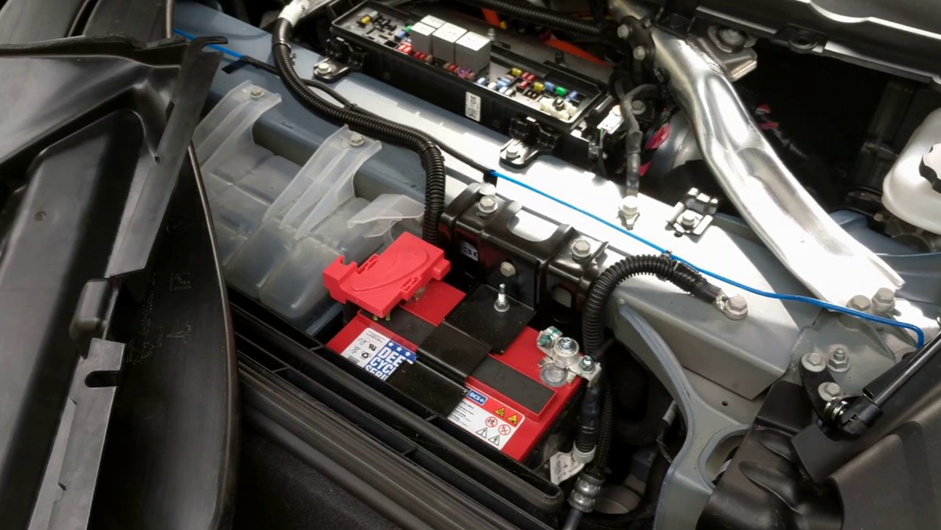
Before attempting to fill a battery with water, it is crucial to identify the type of battery you are dealing with. Most automotive batteries, also known as lead-acid batteries, require water for maintenance. However, other types such as lithium-ion batteries do not need water and should not be filled with it. Refer to the manufacturer’s instructions or consult a professional if you are unsure about your battery type.
Step 2: Gather Necessary Tools and Safety Precautions
To fill the battery with water, you will need a few essential tools and safety equipment. Gather the following items before proceeding:
– Distilled water: It is important to use distilled water rather than tap water to prevent impurities from affecting the battery’s performance.
– Safety goggles and gloves: Protect your eyes and hands from any potential splashes or spills.
– Funnel: A funnel will make it easier to pour water into the battery cells without causing any spills or mess.
– Clean cloth: Have a clean cloth handy to wipe off any water that may accidentally spill during the filling process.
Step 3: Prepare the Battery for Water Filling
Before opening the battery, ensure that it is in a well-ventilated area. Batteries can release potentially harmful gases during the filling process, so it is crucial to have proper ventilation. Additionally, make sure the battery is disconnected from any power source.
Step 4: Open the Battery
Carefully remove the battery caps using a screwdriver or the designated tool provided with the battery. The caps are usually located on top of the battery and cover the individual cells.
Step 5: Inspect the Battery
Take a moment to inspect the battery and check the water level in each cell. The water level should be above the battery plates but below the cell’s split-ring. If any cell is significantly lower than the others, it may indicate a problem with the battery and should be checked by a professional.
Step 6: Fill the Battery Cells
Using the funnel, slowly pour distilled water into each battery cell. Be cautious not to overfill the cells, as it can lead to electrolyte overflow during charging. Aim to fill each cell to the appropriate level, ensuring the battery plates are fully submerged but not covered by excess water.

Step 7: Replace the Battery Caps
Once all the cells are filled with water, carefully replace the battery caps. Ensure they are tightened securely but not overly tightened, as this can cause damage to the battery.
Step 8: Clean and Dispose of Any Spilled Water
If any water spills or splashes during the filling process, immediately wipe it off using a clean cloth. It is essential to keep the battery and its surroundings clean and dry to prevent any potential issues.
Step 9: Reconnect the Battery
After the water filling process is complete, reconnect the battery to the appropriate power source, following the manufacturer’s instructions.
Заключение:
Filling a battery with water is a necessary maintenance task for certain types of batteries, such as lead-acid batteries. By following the steps outlined in this article, you can ensure the safe and proper filling of your battery. Remember to always refer to the manufacturer’s instructions and seek professional help if needed.
-
 Introduction In recent years, the advancements in technology have revolutionized various sectors, including the military. One significant development is the application of lithium batteries in military equipment. Lithium batteries have become the preferred choice due to their high energy density, lightweight nature, and extended lifespan. This article aims to discuss the advancements of lithium batteries in military equipment, highlighting their...Читать далее
 -
 Electric scooters have become increasingly popular in recent years as a convenient and eco-friendly mode of transportation. However, one of the major limitations of electric scooters is their battery life. Many riders find themselves constantly searching for charging stations or carrying around spare batteries to ensure they don't run out of power during their journeys. But what if there was...Читать далее
 -
 In today's technologically advanced world, industrial power products batteries play a crucial role in powering the backbone of modern industries. These batteries are not only essential for providing a reliable source of power but also contribute to enhancing efficiency, productivity, and sustainability. Industrial power products batteries are specifically designed to meet the demanding power needs of various industries, including...Читать далее
 -
 Введение: Литиевая батарея LiFePO4 12 В, 100 Ач — это инновационная и технологически совершенная батарея, рассчитанная на длительную работу в дороге. Эта батарея изготовлена из литий-железо-фосфата — типа перезаряжаемой батареи, которая имеет более длительный срок службы и более стабильна, чем обычные свинцово-кислотные батареи. Особенности: Литиевая батарея LiFePO4 12 В, 100 Ач...Читать далее
 -
 В современном мире энергетические решения имеют решающее значение для многих различных приложений. От энергоснабжения домов и предприятий до обеспечения энергией электромобилей, накопление энергии — это необходимость, важность которой только растет. Таким образом, крайне важно иметь надежные и долговечные решения в области электропитания, способные удовлетворить растущий спрос. Одним из таких решений является аккумулятор высокой емкости LiFePO4 емкостью 100 Ач.Читать далее
 -
 Введение: Приключение на лодке может стать волнующим опытом для многих людей. Будь то плавание по спокойной воде или наслаждение водными видами спорта, лодки предоставляют уникальную возможность соединиться с природой и расслабиться от стрессов повседневной жизни. Однако для обеспечения бесперебойной и надежной работы вашей лодки крайне важно иметь...Читать далее
 -
 Литий-железо-фосфатный (LiFePO4) — это тип литий-ионной батареи, которая используется с 1996 года. В последние годы она быстро завоевала популярность благодаря своим исключительным характеристикам и преимуществам, которые отличают ее от других типов литий-фосфатных батарей. ионные батареи доступны на рынке. В этом репортаже мы подробно рассмотрим...Читать далее

